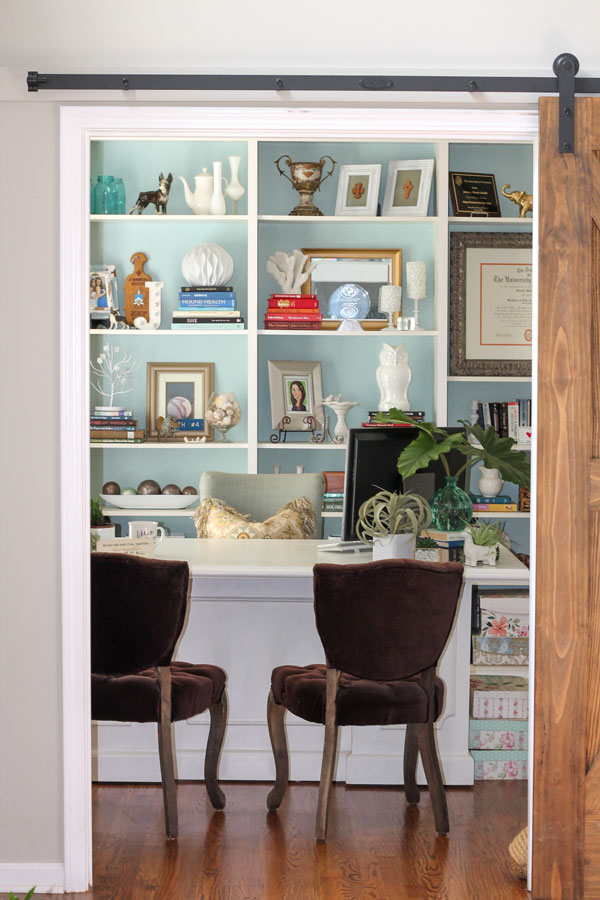
Who doesn’t love a good IKEA hack? I sure do, and these “Billy” Bookcases undoubtedly gave my home office a major raise and promotion.
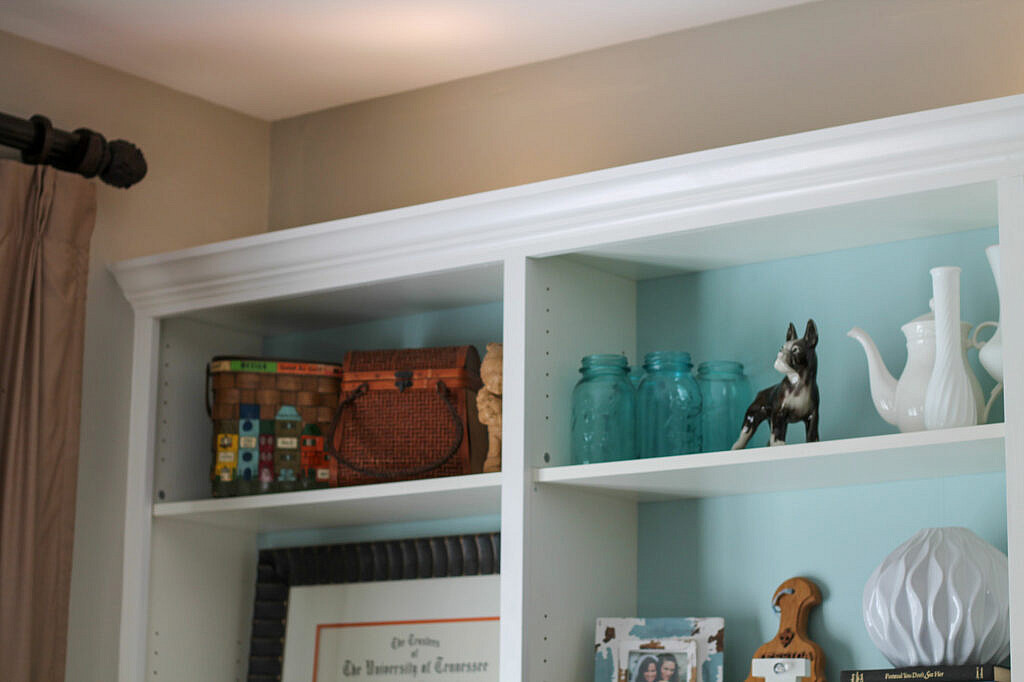
We were able to customize “Billy” to perfectly fit along the back wall in there. We were able to achieve a custom look by adding trim pieces to the front, top, and bottom of the bookcase. You can also tweak the width by adding trim on the front and sides of the bookcases to cover any gaps between each shelving unit.
If you have higher ceilings, you can add additional single shelf units to reach your desired bookcase height.
I wanted a pop of color for my finished office design, so I painted the back ‘wall’ of the bookcase prior to installation, which is actually just a heavy-duty piece of cardboard that was just begging for me to spruce it up a bit.
TOOLS OF THE TRADE
❖
◇ IKEA “Billy” Bookcase | 31 1/2″ x 11″ x 79 1/2″
◇ IKEA “Billy” height extension unit | 32″ x 11″ x 14″
◇ standard wood trim | Lowe’s or Home Depot
1} SELECT & MEASURE
◆
Ikea has a healthy selection of various options within their Billy series. Choose the look you like best, and take note of the measurements.
Then measure your space to determine how many units you need, as well as any height extenders. Take into consideration trim pieces that you may add to the top of the bookcase in order to best determine your desired height.
2} PICK YOUR BACK WALL DESIGN
◆
I chose to paint the back wall of the bookcase a light aqua color that I have woven throughout our home. The possibilities here, however, are endless. A stencil design, a dramatic dark color, or a fun pop of bright color are all great options here.
You need to paint your back wall prior to installation.
3} INSTALL & ADD CUSTOM TRIM
◆
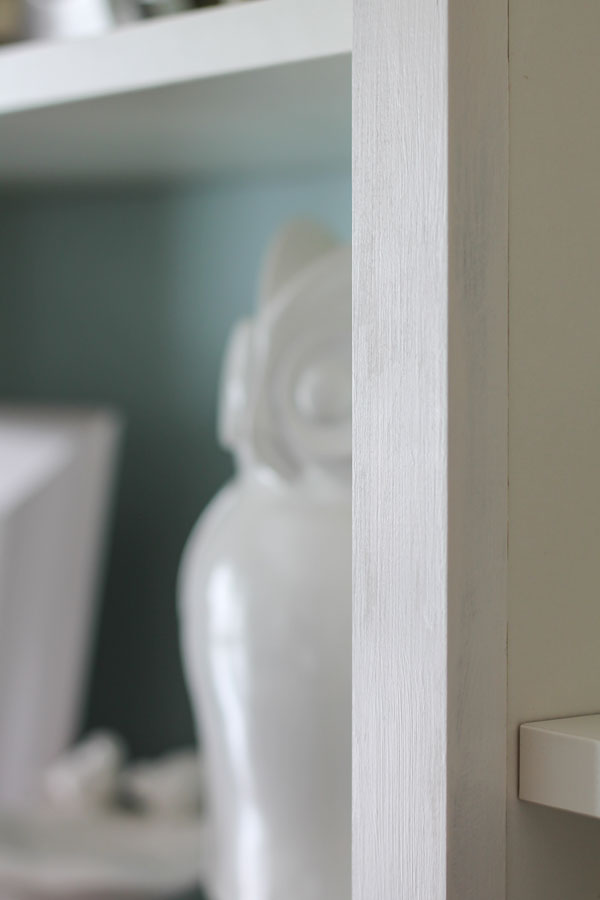
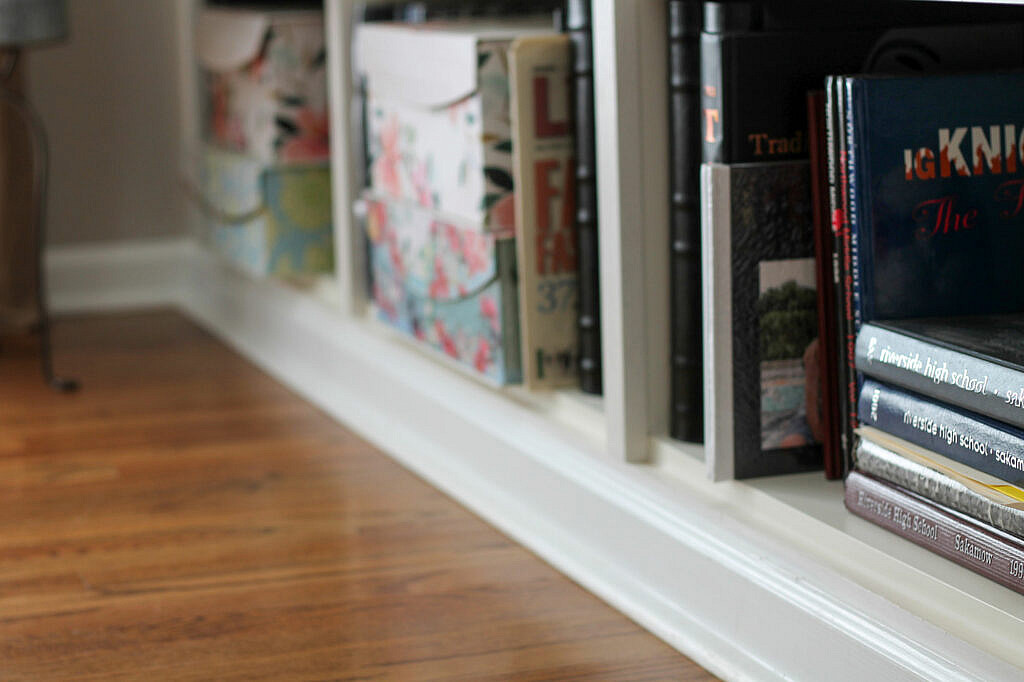
Once you have assembled and placed your bookshelves, you can add trim work to customize your new masterpiece. Here are some examples of how we customized with crown moulding, trim for the front of the bookshelf, and baseboard trim for the bottom to give it that true ‘built in’ look.
The shelves are adjustable, so you can arrange this a number of ways. For example, I created two larger shelving areas to make room for our college diplomas.
4} STYLE YOUR SHELVES
◆
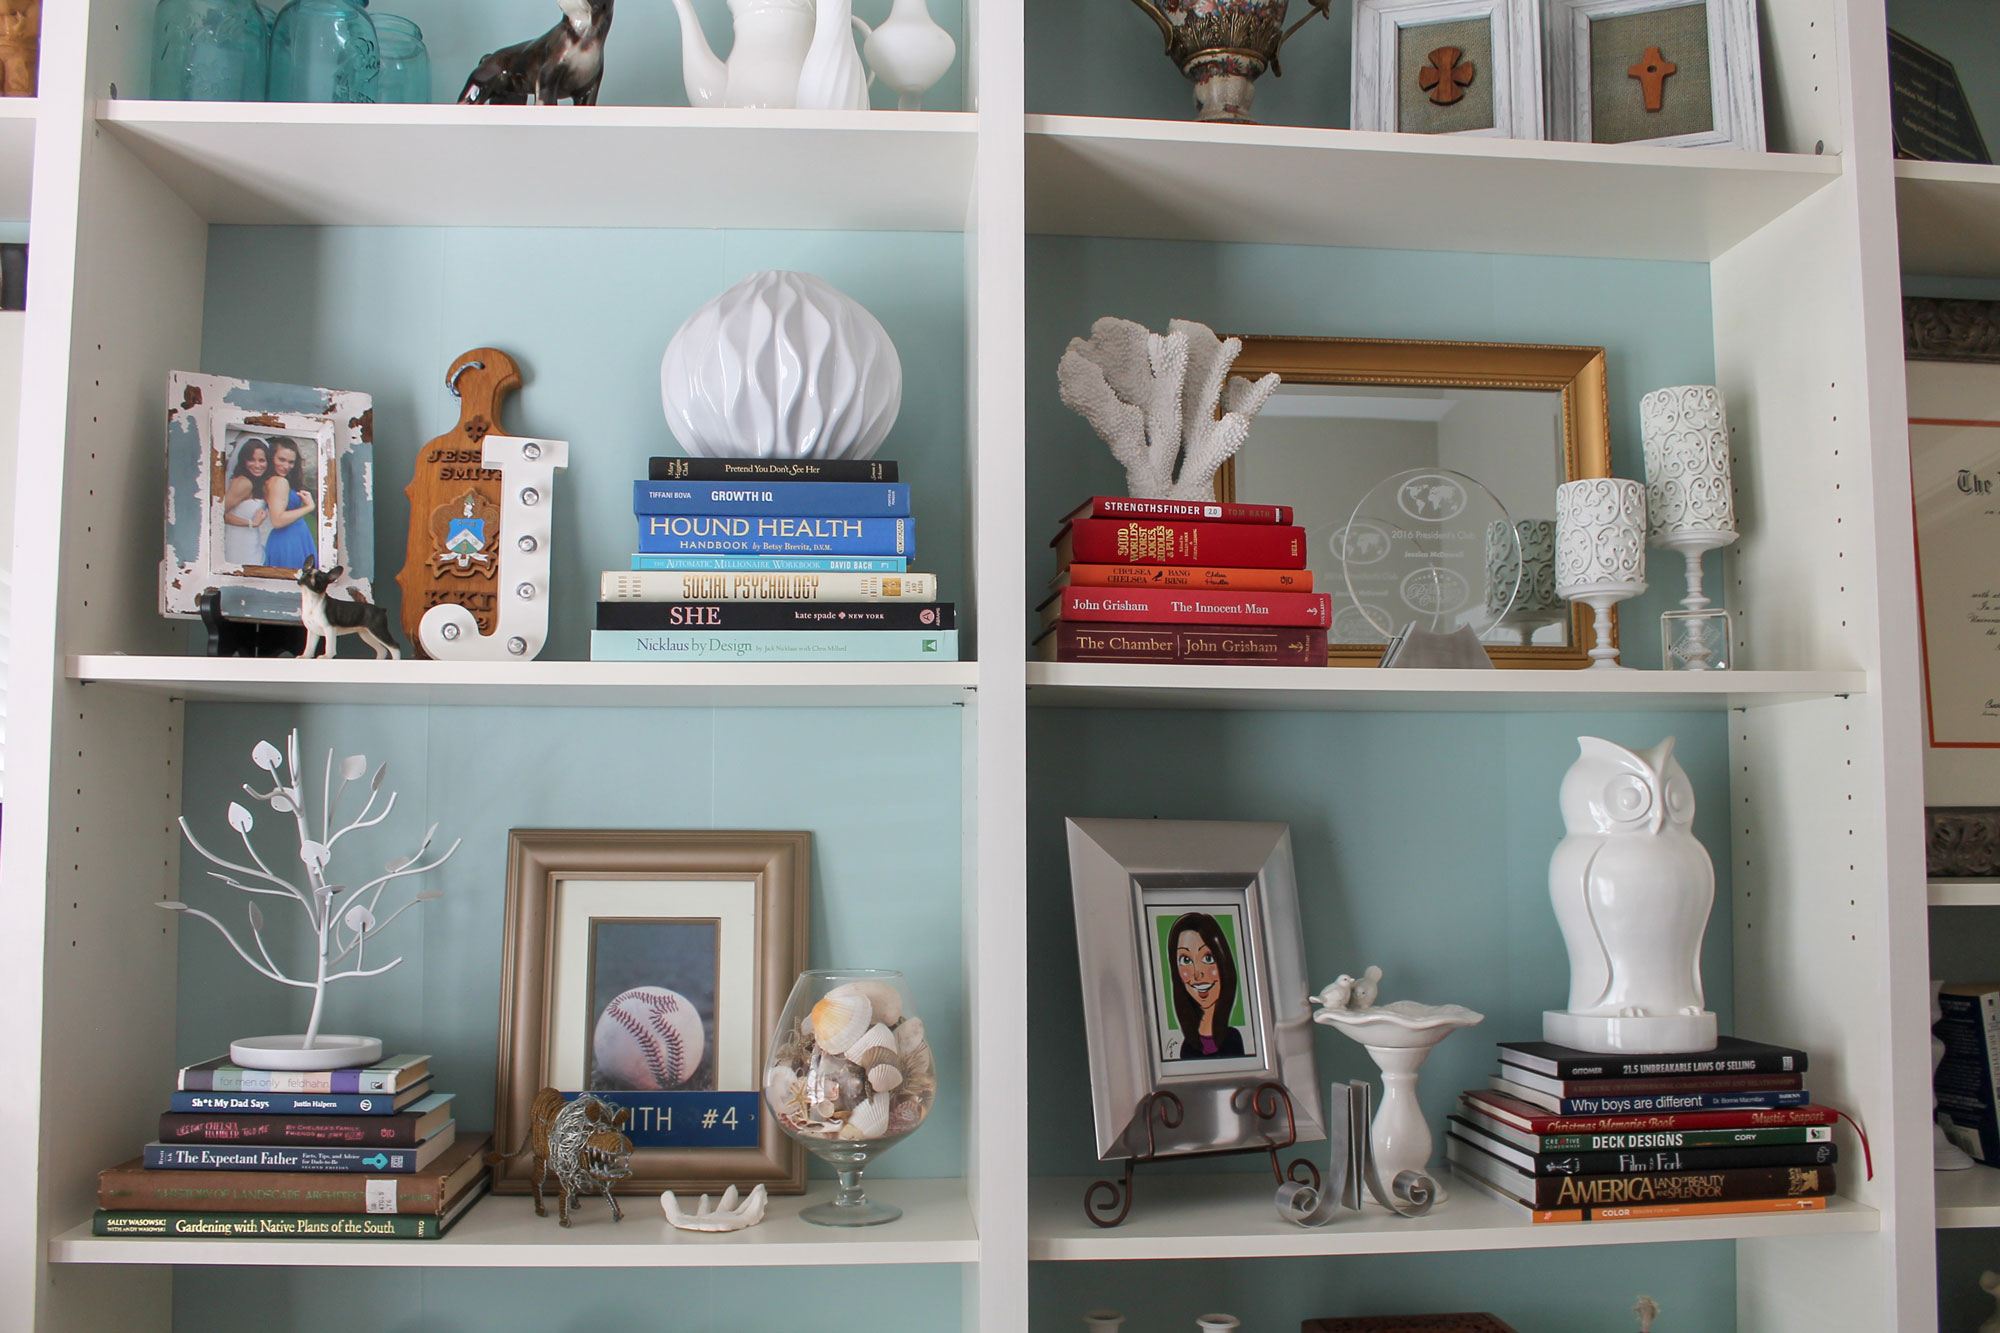
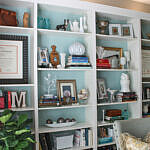
Styling was my favorite part of the project _ and unsurprisingly, as I chose items that represented me, my family, our accomplishments, and things that just generally make me happy.
I unified the overall look by adding white elements wherever it made sense. If you love the shape of a particular item in your home – vase, jar, statue, etc. – never underestimate the power of some good, old-fashioned spray paint.
I hope you’re inspired to create a new space in your house with these ideas. What makeover items are you most interested in tackling in your home? Let me know in the comments!
