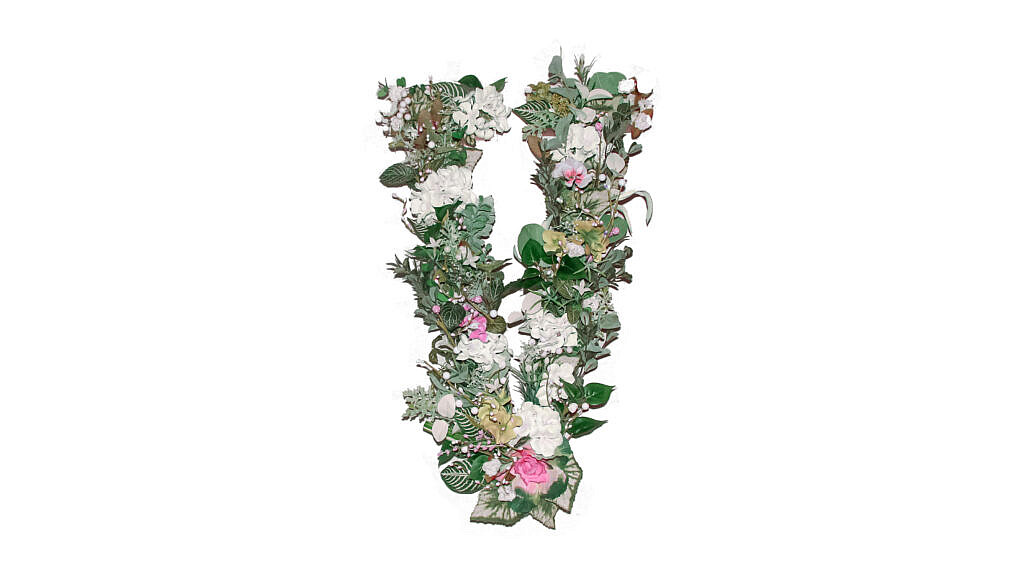
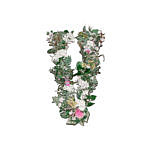
I made this for my (brand new!) niece’s nursery that has a vintage floral theme with a touch of boho. We didn’t want anything too frou-frou, so we thought some small florals mixed with a simple frame would look perfect over the crib.
These letters can be used for any decoration — wedding, bridal shower, birthday celebration, bedroom decor, front door decor, etc. Use them to make a 3 letter monogram, use smaller letters to spell a full name, use as wall decor in a younger child’s room — the versatility and the fact that you can reuse them are worth the time spent making them!
The best part about this project was selecting the floral picks that would match the nursery decor. I enjoyed it so much so that I sat myself in the middle of the aisle at Joann’s, square in the floor in front of the clearance floral bin, and picked through hundreds of stems to select just the right ones. I have no shame.
I recommend choosing picks with smaller leaves and buds so that it doesn’t overwhelm the shape of the letter. Choose some greenery ‘filler’ picks, some smaller accent flowers, and a few ‘statement’ flowers.
TOOLS OF THE TRADE
❖
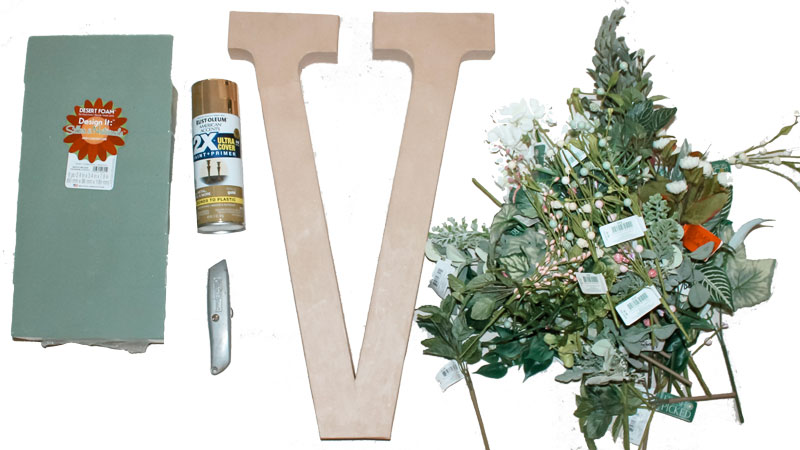
◇ 23.5″ paper mache letter
◇ floral picks | flocked leaf spray | rose spray | berry spray
◇ floral foam
◇ spray paint
◇ hot glue gun + glue stick
◇ wire cutters
◇ Electric carving knife OR serrated knife
◇ Exacto knife OR angled box cutter
◇ Pencil or Pen
INSTRUCTIONS
❖
{ 1 }
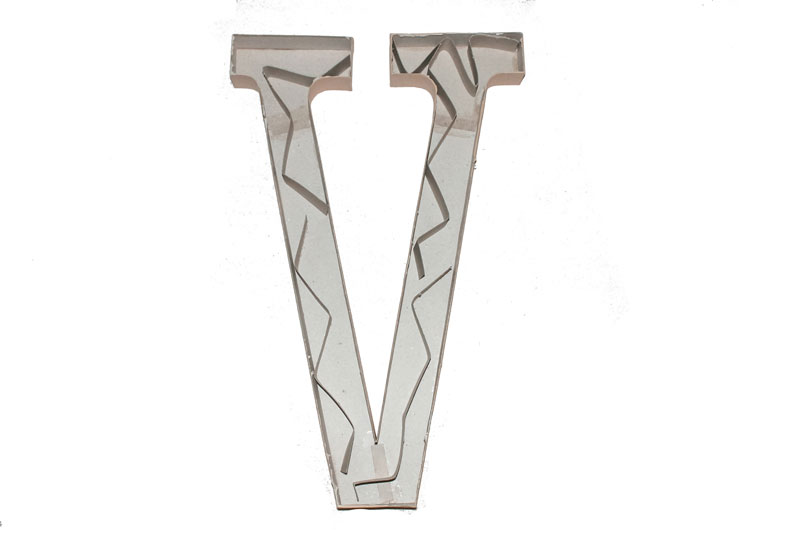
First you’re going to remove the top of the paper mache letter.
You will use your exacto knife or angled box cutter to carefully cut along the seam where the top of the letter connects to the sides.
Some letters will come apart fairly easily once you start to cut. The inside will have some loose cardboard that you will remove.
{ 2 }
Next spray paint the sides of your letter.
NOTE: You don’t HAVE to spray paint the letter. If you’re going for a more natural look, the color of the paper mache will look just fine.] I found that the easiest way to do this is to lay the letter with the hollowed-out side facing down. Depending on which color you chose, you will need 2-3 light coats of paint. Make sure you give it ample time to dry. You don’t want drip marks and fingerprints on your masterpiece.
{ 3 }
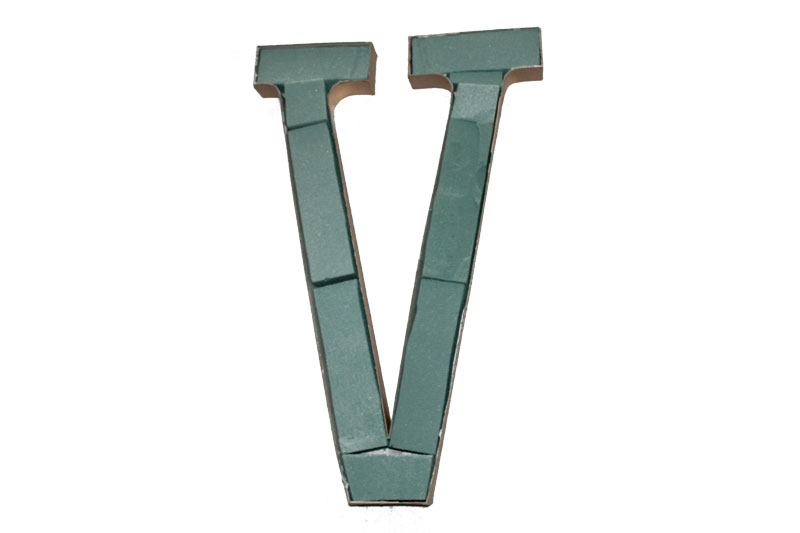
Once your letter is dry, you will cut the floral foam blocks to fit inside your letter.
Lay the letter on the foam blocks and use a pencil or pen to trace the shape. I used an electric carving knife to then cut the foam, and it worked like a charm. If you don’t have one, or you prefer to use your electric knife for its actual intended purpose (boring), you can use a serrated knife. Just make sure it’s long enough to cut all the way through the floral foam. Some letters are tougher to fit the foam. Treat this mission like a puzzle, just try to fill as much space as you can. You won’t be able to see the foam once your floral picks are in, and the foam is only serving as a base for the picks.
{ 4 }
Once you have fit the foam inside the letter, anchor it with hot glue.
{ 5 }
Now you are ready to insert your floral picks.
I separated my picks by color and size and laid them out so that I could easily see how much I had left of each style as I was working. I used wire cutters to snip the picks into smaller, more manageable pieces. It allows for more coverage and more flexibility with placement of your picks. If you decide you don’t like where you put a pick, simply remove it and place it somewhere else.
The floral foam is sturdy enough to hold your picks in place, so you shouldn’t need to anchor them with anything else, like hot glue.
